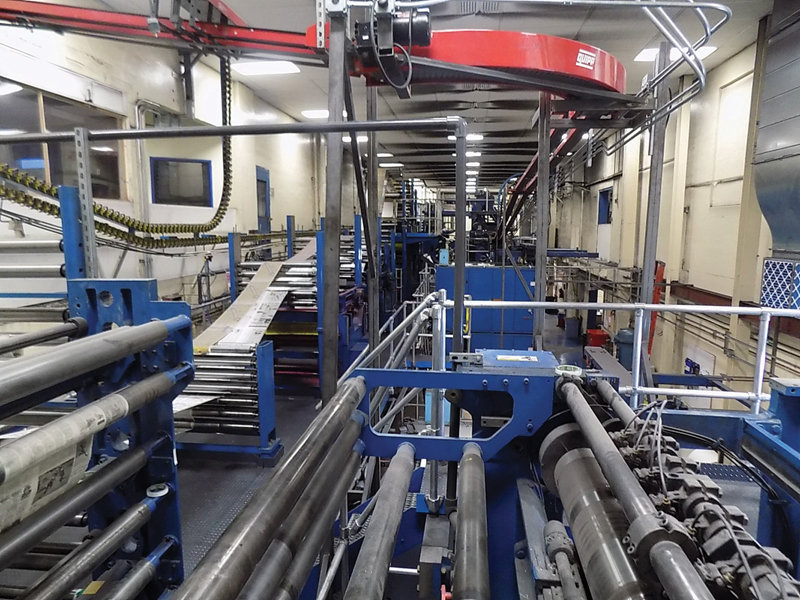
 Presses are complex machines requiring constant maintenance and testing to keep printing in balance. Structured maintenance and testing procedures should be a part of every press schedule.
We have a responsibility to our customers, both internal and outside commercial accounts, to provide the best possible reproduction and top quality printing. It’s a competitive market, and unless we stay at the top of our game, we’re jeopardizing revenue, customer satisfaction, and our advertising and commercial base. Running regularly scheduled press tests to ensure we are operating as efficiently as possible and maintaining the mechanical integrity of our equipment is essential.
In many of my articles, I refer to contacting supply vendors for specific testing and evaluation related to their products on-press. I still believe this is one of the most productive manners in which to maintain quality standards and encourage you that if you have a reproduction issue (rooted in a commodity such as ink, paper, fountain solution, blankets, plates, etc.) that your best option is to contact the vendor and have them assist you in testing/analyzing.
Outside of the more serious problems with consumables, it remains the responsibility of your press experts, management and crew to conduct regular press tests to maintain press conditions and ensure your equipment is operating at its peak.
Equipment wears out; we change vendors and vendors change formulas; we switch paper mills; often experiment willy-nilly with different blankets; and about once a month, I’m approached to test out a “new and improved fountain solution” from a vendor.
My advice on most of this is that the printing process has been around for a very long time, and while there are “new and improved” products being introduced daily, be careful not to experiment with too many innovative products at the same time—you’ll soon be chasing your tail.
I’m absolutely not saying don’t look into new products, but simply saying don’t take a shotgun approach when it comes to experimenting. When you find something that works well on your press and produces optimal quality, appreciate that fact and stick with it until you’re absolutely positive that what’s being advertised is going to improve things and favorably interact with other vendor supplies and your press.
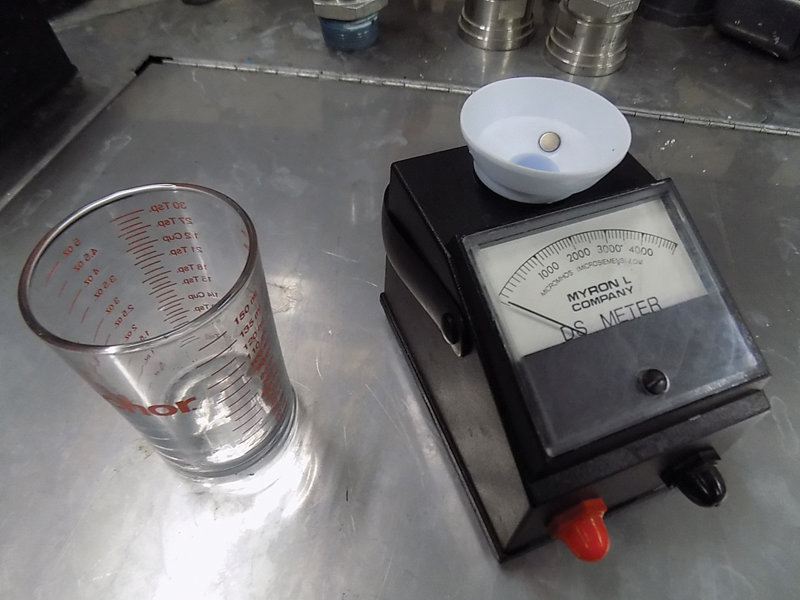
 Test devices, like this conductivity meter to monitor fountain solution performance, remain one of the necessary tools to maintain quality. Fountain solution has several functions in the printing process, reducing plate wear and plate life, maintaining the working properties of ink and reducing piling on the blanket, just to name a few.
Maintaining Optimum Quality
There are tried and true tests that we can conduct without calling in vendors. Anyone who’s been in the printing business has most likely either heard of or done these tests sometime in their career. They provide a fairly simple and defining measure of how we’re printing at a given point in time.
How often you conduct these tests can depend on several different things: how often your press wanders out of spec, how often you change vendors or supplies and how committed you are to quality.
I’ll apologize in advance for any confusion I may cause in my explanations throughout this feature. You will find me jumping between testing and maintenance often. I believe they are inseparable and dependent on each other to maintain print quality.
I’ve worked in shops where the press runs like a fine Swiss watch. In these shops, printing was predictable; we didn’t have a lot of reasons to change. We’d set iron to iron once in a blue moon, stick with the same suppliers because their products worked well and the press simply kept on producing a well printed sheet.
On the other side of the coin, I’ve also worked shops that mechanical tolerances mysteriously wander from their settings one day printing perfect and the next it seems like you have a totally different press. These are the presses that are going to need more T.L.C. and you’ll have to obviously gear your testing schedule to your specific needs of your operation to preserve quality.
Before you start any testing, make sure that your press is set-up as it should be. It’s important to realize that the testing is the easy part; preparing for the test can be the most difficult task.
Never test a press with old beat-down blankets, uncertain mechanical tolerances, etc. Get your press set-up the closest you can to original manufacturer’s specs.
Check/reset iron to iron, and then reset ink and micrometric rollers on all units that you are going to test. Once iron is set correctly, it normally needs to only be checked on an annual basis unless a serious wrap or apparent impression issue occurs. Setting iron to iron alone should allow operators to cut back on ink and get a more even ink laydown for testing. Ink and lint should be cleaned off all rollers and they should be checked for hardness and surface damage. Any rollers that are above acceptable hardness specs (40 durometer or whatever your vendor recommends) should be replaced. A hard roller can be abrasive to copper roller surfaces and will affect your overall ability to maintain print standards, skewing test results.
To prepare for testing, blankets should be thoroughly cleaned of all ink and paper dust (lint) and blanket heights should be double checked. Check with your manufacturer for their recommendations and also look up recommendations in your press manual. Blanket heights of .083 are common on an Urbanite/plus or minus .001 to maintain print quality. Replace worn blankets if necessary.
Cleaning blankets at the end of each shift is also recommended to prevent glazing and/or becoming prematurely hard.
Make sure your folder is ready as well. It will make any testing easier if you’re not jamming your folder during the test and if your test is running wrinkle free. Check for wear and slop in the folder. There may not be a lot you can do about wear once it’s occurred, but don’t encourage premature wear by running the folder dry. Your folding and cutting cylinder pin timing gears and cam should be lubed at least once a shift along with the cam followers to prevent premature wear and future pin timing issues.
Press testing isn’t rocket science. There are only a couple of in-house tests that I know of that can provide quick feedback and let you know how your equipment is performing with very little effort.
Poor registration can be the result of an endless list of issues: poor or inconsistent impression from unit to unit, iron to iron issues, roller settings, inadequate ink and water balance, lack of general maintenance, plate lock-ups problems, CTP issues, paper challenges…the list goes on.
About the best you can do is establish a base and then follow a maintenance plan that keeps your equipment and processes at that base point—otherwise known as predictability. I have found that when it seems that quality appears to be spinning out of control, getting back to the basics of printing, the nuts and bolts of pressmanship often is all that is needed.
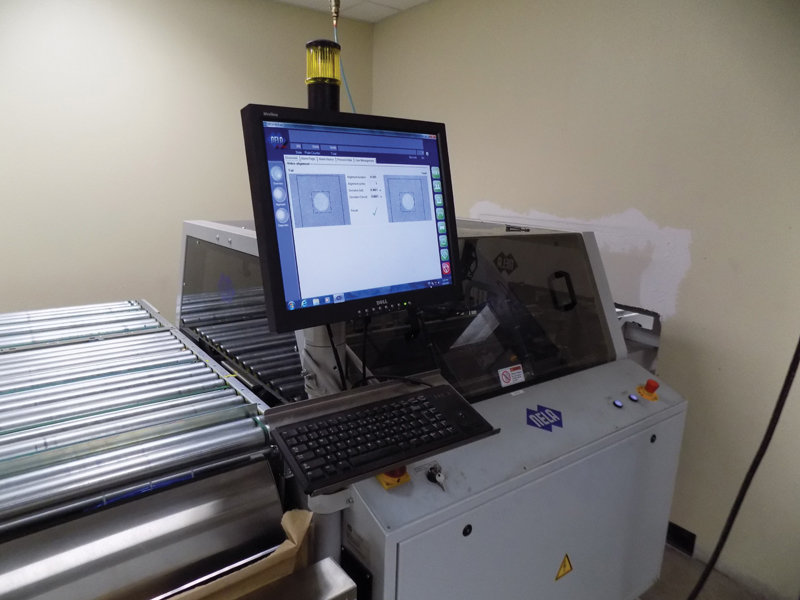
 Properly aligned plates are critical to achieve proper registration on press. Maintenance and monitoring of vision benders on the front-end can eliminate issues further down the line.
Registration Problems and Solutions
A grid test is my go-to test for registration problems. I’ve mentioned this test in a previous E&P article and feel it deserves repeating with a bit more detail. It is the core test to establish and maintain accurate color registration on any press.
First, have your prepress area output four plates with the exact same image. You’ll need a full page image with vertical and horizontal thin (one-point) lines every inch. You may also use registration targets within these squares. This will allow you to measure your registration side to side (sidelay) as well as up and down comps. I also like to print four solid bars within the test sheet to help establish ink density and ink/water balance.
When you lock-up your plates across the four-high or webbed CMYK units, be sure to check your plate gaps for debris (clean if necessary) and carefully mount plates. Plate lock-ups can be a major contributor to registration issues and it’s important to make sure you’ve taken any haphazard locking up out of the mix. This is important so that if you do have a problem with lock-ups it will end up being a measurable and consistent issue that you can address by shimming if necessary.
Make sure to zero all your units and run your press up to speed slowly.
It’s important that once you get the press up to speed and warm you establish an acceptable ink and water balance. Too much water on the sheet will contribute to fan-out and poor registration on the edge of your sheet. If you see your grid from unit to unit lining up on top of one another in the center but misaligned as you go out to the edge of the sheet, and you’ve ensured that your mechanical settings are spot on, water can possibly be the culprit, skewing your test results.
Of course, the benefits of this test are in the end result. If you’ve set your press correctly, i.e. establishing and following all mechanical settings, blanket heights, ink/water balance, etc. and still have an issue with registration, you need to start troubleshooting. In order to “chase” any problems, you may have to run the test multiple times to be certain that you’re seeing the same thing, making multiple small adjustments to eliminate the issue.
Unfortunately, while I often refer to the basics being key, presses are complicated and many things can contribute to poor registration on a daily basis.
In no particular order, these are some commons problems I see with registration after running a grid test:
Another simple press test for quality is measuring gain. All presses have dot gain/spread no matter how we try to minimize it. Dot gain is an inherent part of the printing process. Typical offset press gains range from 15 to 30 percent. Presses that are not maintained to specs can run well beyond this, creating mottled images and poor reproduction of halftones.
Too much press gain will grow your highlight dot, creating a lack of contrast between highlight areas and low/midtones. I find midtone dots to be most affected by dot gain, causing photos to look flat and again lacking contrast. With excessive press gain, shadow dots will plug and create a major problem with the overall look of the photo.
Since it can’t be avoided, understanding how press gain affects the printed product is instrumental in controlling the end result.
The degree of dot gain on each particular press must be established in order to correct and adjust for it. Once you’ve established that the press is printing with the minimal amount of gain possible, the correction must take place on the front-end (prepress) to compensate for that gain.
Following a similar path to registration, ink/water balance often is the biggest contributor to dot gain on press, followed by paper. Most of us don’t adjust between press runs on 27.6# news and 50# alternative offset, and then we’re surprised when we have excessive press gain on a heavier sheet.
The best test to measure press gain is to obtain a test file (usually a PDF) from your ink vendor and run it up on press (hopefully when your vendor can be on-site to help analyze the results). This test (made up of several color targets, halftones and solids) will give you an accurate evaluation of press gain and a solid target to compensate for it on the front end. Since you’ll often have different gain from unit to unit coordination with your prepress area to apply curves to compensate for, dot gain can occur to produce crisp, brighter, sharper colors with clean highlights and open midtones/shadows.
It’s important that you have a proper working densitometer available and that the unit is zeroed to the paper. While setting the densitometer to the high and low of the plate provided with the unit, you must also take into account the shade of the paper and adjust for the cast of the newsprint.
I’ve barely scratched the surface on press testing procedures for quality reproduction. It’s a topic someone could write a book on and still not address all the challenges. The tests themselves are fairly simple, but interpretation of the results can be very complex.
When carefully followed through on, the basic tests mentioned in this column can produce significant improvements in print quality and reliable reproduction. It comes down to proper and consistent preventative maintenance and scheduled press tests to ensure that print quality remains the very best your equipment is capable of producing.
 Jerry Simpkins is vice president of the West Texas Printing Center, LLC in Lubbock, Texas. Contact him on LinkedIn.com or at simpkins@tds.net.
Comments
No comments on this item Please log in to comment by clicking here